1.8. Reading a 2D mesh file and extruding it
To run the code, simply type: jupyter nbconvert --to python --execute <basename>.ipynb.
To convert it to a python file (named <basename>.py), simply type: jupyter nbconvert --to python <basename>.ipynb
To run the python file from the terminal, using N processes, simply type: mpiexec -n <N> python <basename>.py
[ ]:
import os
import sys
from mpi4py import MPI
rank = MPI.COMM_WORLD.rank

sys.path.append("../..")

from pyopensn.mesh import FromFileMeshGenerator, ExtruderMeshGenerator, PETScGraphPartitioner
from pyopensn.context import UseColor, Finalize

UseColor(False)
1.8.1. Mesh and Partition
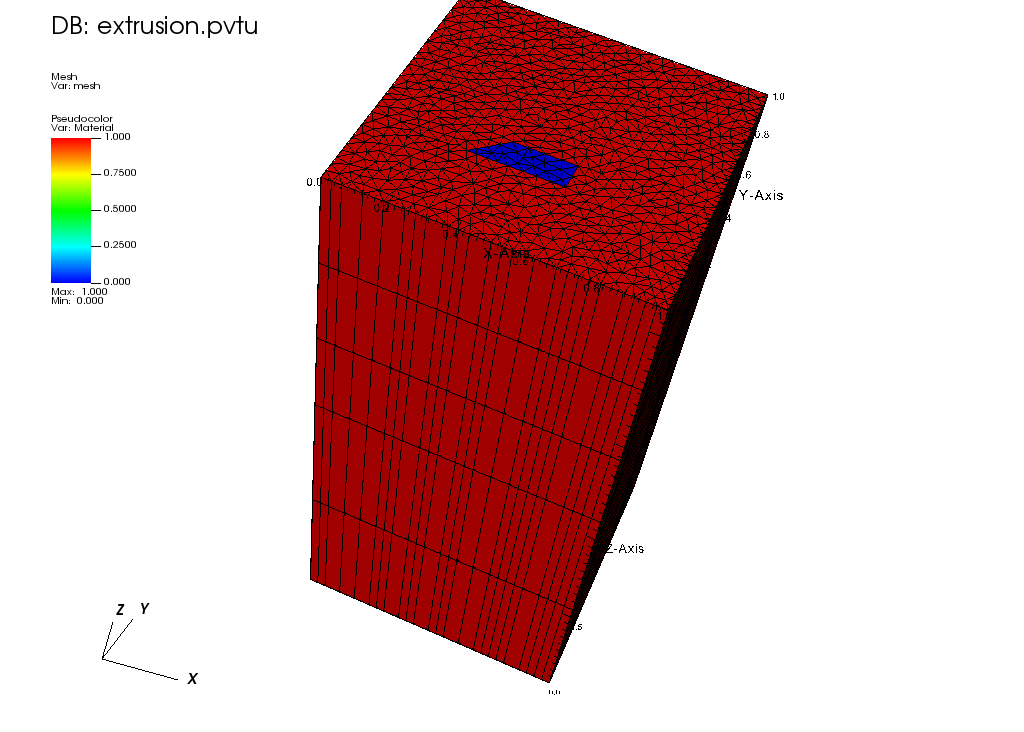
We start by reading a 2D obj file that we will extrude. (See a previous tutorial for reading 2D obj file).
We insert 2 layers between z=0 and z=1.1, followed by 3 layers, between z=1.1 and z=2.1.
We partition the mesh using Parmetis (and 6 processors).
Finally, we export the mesh to a VTU file.
[ ]:
meshgen = ExtruderMeshGenerator(
    inputs=[
        FromFileMeshGenerator(
            filename="./tri_2mat_bc_1542.obj",
        )
    ],
    layers=[{"z": 1.1, "n": 2},
            {"z": 2.1, "n": 3},
            ],  # layers
    partitioner=PETScGraphPartitioner(),
)
grid = meshgen.Execute()

# Export
grid.ExportToPVTU("Extruded_mesh_only")
1.8.2. Visualization
The resulting mesh and material layout is shown below:
The resulting mesh and partition is shown below:

[ ]:
n_glob_cells = grid.GetGlobalNumberOfCells()
if rank == 0:
    print(f"Number of cells = {n_glob_cells}")
1.8.3. Finalize (for Jupyter Notebook only)
In Python script mode, PyOpenSn automatically handles environment termination. However, this automatic finalization does not occur when running in a Jupyter notebook, so explicit finalization of the environment at the end of the notebook is required. Do not call the finalization in Python script mode, or in console mode.
Note that PyOpenSn’s finalization must be called before MPI’s finalization.
[ ]:
from IPython import get_ipython

def finalize_env():
    Finalize()
    MPI.Finalize()

ipython_instance = get_ipython()
if ipython_instance is not None:
    ipython_instance.events.register("post_execute", finalize_env)